Replacing a glass shower door can completely transform the look and functionality of your bathroom. Whether your old door has cracks, leaks, or just looks outdated, learning how to perform a shower door glass replacement can save you money while giving your space a fresh, modern appeal.
While some homeowners choose to tackle this as a DIY project, others prefer hiring professionals for safety and precision—especially when dealing with heavy or frameless glass. In this comprehensive guide, we’ll walk you through how to replace your shower door, what tools you’ll need, the glass shower door replacement cost, and when it’s best to replace the frame too.
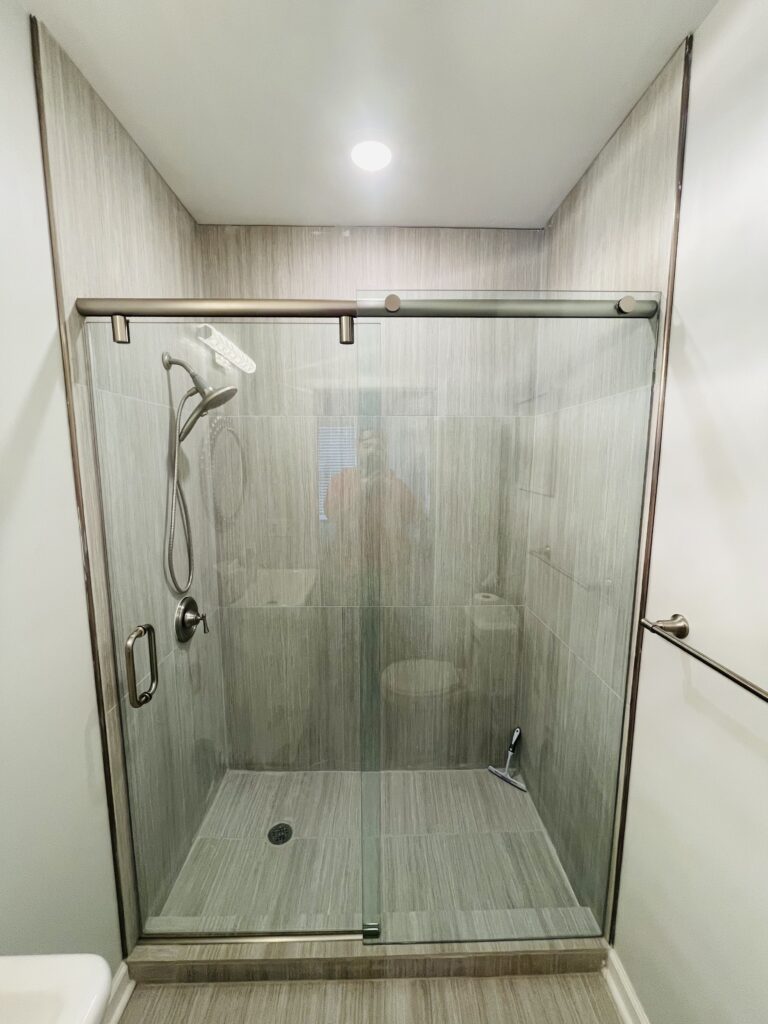
When Should You Replace a Glass Shower Door?
Glass shower doors are designed to last for years, but wear and tear are inevitable. Here are common signs that it’s time for a glass shower door replacement:
- Cracked or Chipped Glass: Even minor damage compromises safety and aesthetics.
- Leaking Water: Gaps or worn seals allow water to escape, creating a slipping hazard.
- Rust or Corrosion: Metal frames or hinges showing rust can weaken structural integrity.
- Door Misalignment: A sagging or sticking door often indicates worn-out hardware.
- Cloudy or Discolored Glass: Hard water stains and etching make glass appear aged.
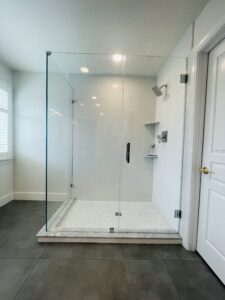
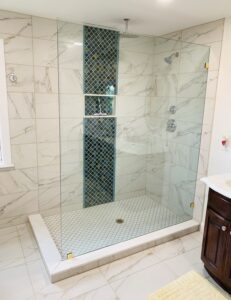
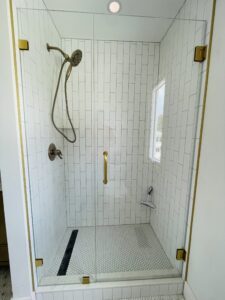
- Outdated Design: Upgrading to clear or frameless glass enhances modern appeal.
If your shower door has any of these issues, it’s time to replace it with a safer, more efficient option.
Tools and Materials You’ll Need
Before starting your project, gather the right tools and safety equipment:
Tools:
- Screwdriver set (Phillips and flathead)
- Adjustable wrench
- Silicone sealant and caulking gun
- Utility knife or scraper
- Measuring tape
- Suction cups (for handling glass)
- Level
- Rubber mallet
- Painter’s tape
Materials:
- Replacement tempered glass panel
- New frame or hinges (if required)
- Screws, anchors, and mounting brackets
- Cleaning cloth and glass cleaner
Having everything ready ensures a smooth installation process and minimizes the risk of breakage.
Step-by-Step: How to Replace a Glass Shower Door?
Safety first: Tempered glass is heavy and can shatter if stressed. Wear cut‑resistant gloves and eye protection. If you’re handling a large frameless panel, have a helper.
1) Prep the Workspace
- Clear the shower of toiletries, rugs, and curtains. Lay down a thick towel or cardboard to protect the tub/floor.
- Turn on ventilation and open a window if using solvents.
- Keep suction cups and a glass stand (or two padded chairs) nearby to rest the panel during the swap.
2) Remove Existing Hardware & Panels
- Swing/Pivot doors: With the door closed, support the panel with suction cups. Loosen hinge cover plates, then back out the hinge screws from the wall or jamb. Lift the panel straight up and out.
- Sliding doors: Lift the active panel off the bottom guide while tilting it toward you; set it aside. Repeat for the fixed or return panel if replacing both. Remove top rail and bottom track fasteners.
- Bag and label screws/parts you intend to reuse.
3) Strip Sealants & Clean the Substrate
- Slice along old silicone with a sharp utility knife; pull it free in long beads.
- Scrape remaining residue and adhesive from tile or fiberglass.
- Degrease with mineral spirits or isopropyl alcohol, then let everything dry. A clean, dry surface is essential for a watertight seal.
4) Measure Precisely (Then Measure Again)
- Record finished opening width at top, middle, and bottom; note the tightest number.
- Check plumb on both walls with a level; out‑of‑plumb walls affect hinge/track placement.
- Verify glass specs (height, thickness, notch locations) against your order before proceeding with the shower door glass replacement.
5) Install Frame or Hardware
- Framed systems: Dry‑fit the bottom track. Mark holes, drill where required (use a masonry bit for tile), insert anchors, then set the track in a thin bed of silicone. Plumb the side jambs, fasten them, and cap the ends per the kit instructions.
- Frameless systems: Locate and mount hinges, clamps, or U‑channels using the manufacturer’s template. Add clear setting blocks where the glass will rest so it never bears directly on tile/metal.
6) Set the Glass Panels
- With a helper, lift the panel using suction cups.
- Hinge/pivot door: Hang the door on the hinges, snug screws evenly, and verify reveals around the perimeter. Adjust until the gap is uniform.
- Sliding door: Place rollers on the active panel, hang it on the header, then set the bottom guide. Confirm that panels run parallel and don’t rub.
7) Align, Secure, and Test
- Fine‑tune roller height, hinge tension, and strike placement so the latch meets the strike cleanly and the door self‑centers.
- Open/close several times to ensure no binding or squeaks. Make micro‑adjustments before sealing.
8) Seal for a Watertight Finish
- Run a continuous bead of 100% silicone outside the enclosure along vertical jambs and the exterior base. (Avoid sealing the inside bottom edge so incidental water can weep out.)
- Tool the bead smooth for a clean line. Install vinyl sweeps or drip rails as supplied.
9) Cure & Final Checks
- Respect the silicone cure time (commonly 24 hours).
- After curing, perform a gentle spray test and wipe any seepage points.
- Clean glass with a non‑ammonia cleaner and fit any bumpers to protect tile and hardware.
When to replace the frame as well: If you spot pitting, bent rails, or stripped screw points, it’s smarter to replace the glass shower door frame during the swap. You’ll get better alignment, fewer leaks, and longer service life.
Glass Shower Door Replacement Cost in the U.S.
The glass shower door replacement cost depends on several factors, including the type of door, size, glass thickness, and whether you hire a professional. Below is a breakdown of average U.S. pricing:
Type of Replacement | Average Cost (Material + Labor) | Description |
Framed Glass Door | $300 – $600 | Affordable and easier to install DIY |
Frameless Glass Door | $700 – $1,200 | Sleek design, professional installation recommended |
Sliding Shower Door | $500 – $900 | Includes tracks, rollers, and glass panels |
Full Glass Enclosure | $1,000 – $2,000 | Custom fit, luxury design |
DIY Replacement Only | $150 – $400 | Materials only, no labor cost |
Prices vary based on your region and the complexity of installation. Urban areas tend to have slightly higher labor rates.
How to Replace a Glass Shower Door Frame
If your door’s frame shows corrosion or damage, replacing it ensures long-term durability and leak prevention.
Steps to Replace a Frame:
- Remove the old frame using a screwdriver and gently pry it from the wall.
- Clean off all leftover caulk and residue.
- Measure and cut the new frame sections to fit your shower dimensions.
- Apply a thin bead of silicone along the edges.
- Screw the frame into place and wipe away excess sealant.
- Insert the glass panel and secure the hinges or tracks.
Replacing both the frame and glass together enhances structural stability and ensures a watertight finish.
DIY vs Professional Shower Door Replacement
Deciding whether to replace your shower door yourself or hire a professional depends on your comfort level and the door type.
Option | Pros | Cons |
DIY Replacement | Saves money, rewarding project | Risk of glass breakage, may void warranty |
Professional Installation | Expert precision, warranty protection | Higher upfront cost |
Hybrid Option (DIY Removal + Pro Install) | Saves on labor, ensures expert finish | Coordination required |
For frameless or heavy glass shower doors, professional installation is highly recommended to avoid accidents or misalignment.
Maintenance Tips After Replacement
Keeping your new shower door looking new is easy with consistent care:
- Wipe after each use: Use a squeegee to prevent water spots.
- Clean weekly: Use a vinegar-water solution or mild glass cleaner.
- Avoid abrasive materials: They can scratch or dull the glass surface.
- Inspect seals: Replace worn gaskets or caulk annually.
- Lubricate tracks: For sliding doors, apply silicone spray for smooth motion.
Regular maintenance extends your door’s life and keeps it looking pristine.
Frequently Asked Questions
Yes, if the rest of the enclosure and frame are in good shape. Match thickness and finish for consistency.
A professional can complete it in 2–4 hours. DIY projects might take a full day.
Tempered safety glass, required by U.S. building codes, minimizes injury risk if broken.
Only if it’s rust-free and structurally sound. Otherwise, it’s safer to replace it.
With proper care, 10–20 years depending on usage and humidity.
Yes. For frameless doors or complex enclosures, professionals ensure perfect alignment and watertight sealing.