Installing a glass railing on a balcony is a smart way to complement modern design, offering a sleek, unobstructed view while enhancing the space’s overall aesthetic. They are effective for small balconies and large outdoor spaces, improving both the property’s value and visual appeal.
Although installing glass railings may appear simple, it demands careful planning, accurate measurements, and the right materials to guarantee safety and durability installation. This guide walks you through the entire installation process, including preparation, component-specific installation steps, and maintenance tips for long-lasting results.
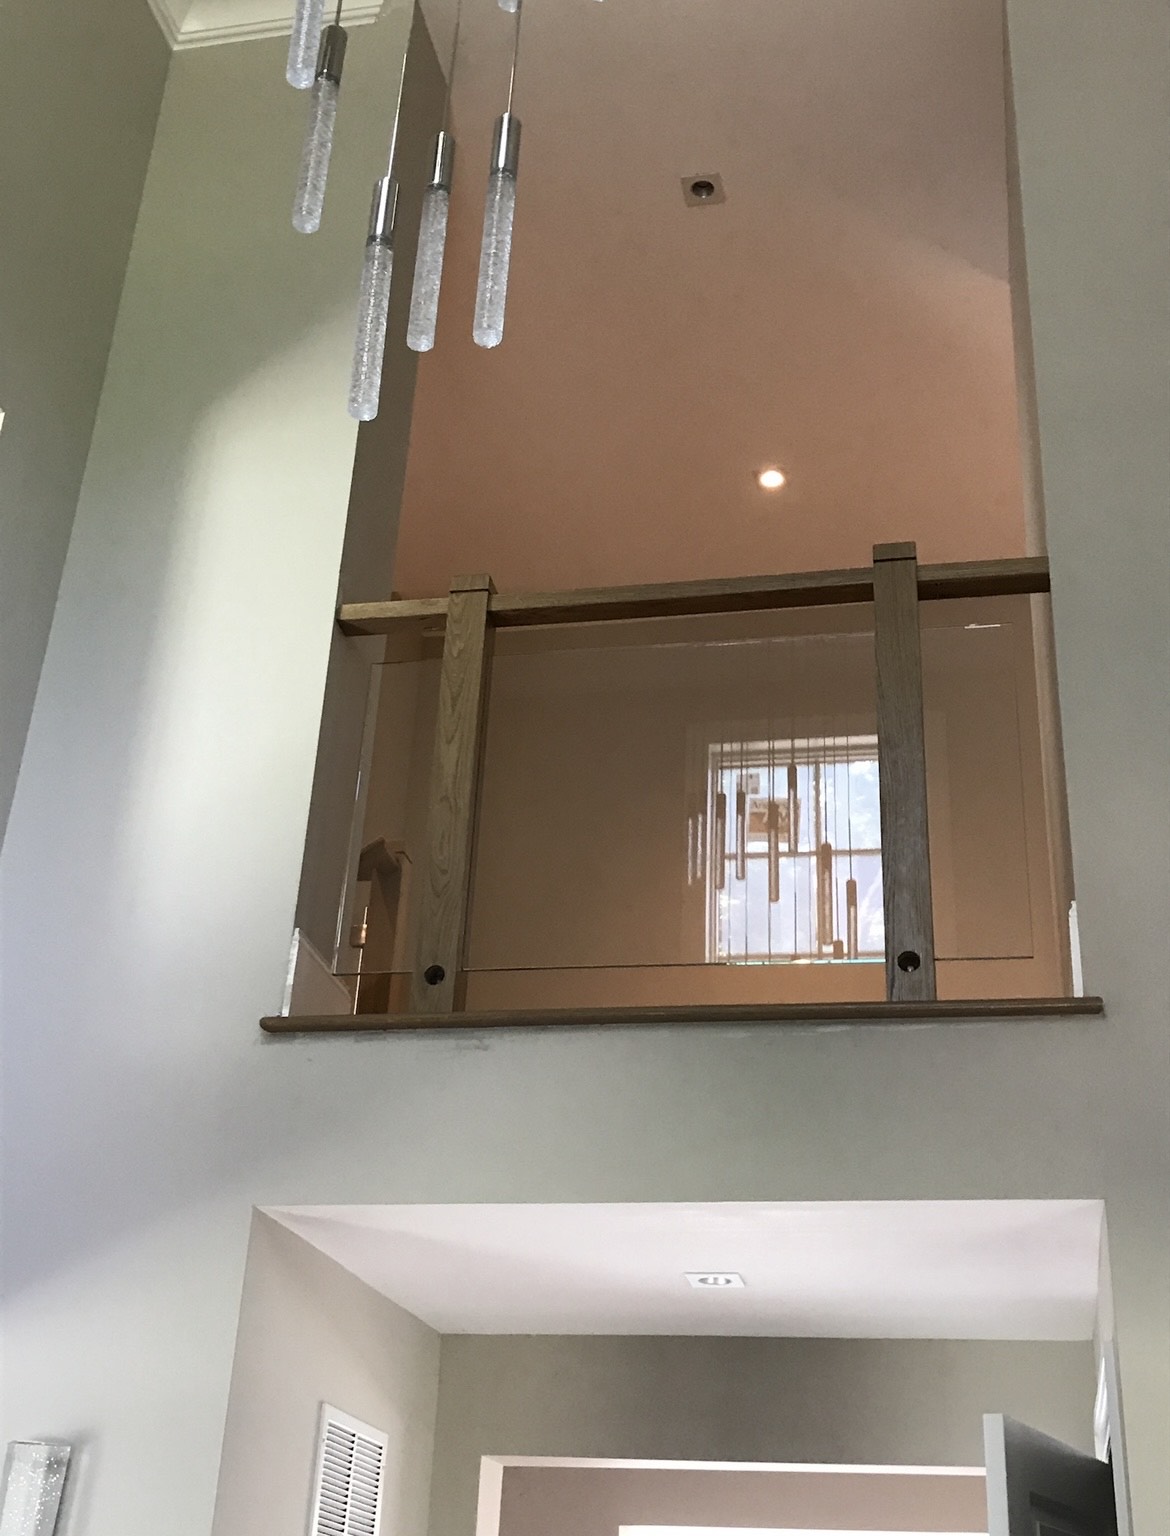
Benefits of Choosing Glass Railing for your Balcony
The glass railing system is favored for its blend of durability, practicality, and aesthetic appeal style. Here are a few basic benefits:
Modern Aesthetic
It adds a sophisticated touch to the balconies, enhancing their shiny, minimalist appearance. Whether for a dwelling house, apartments, or landed properties, a glass balcony can significantly improve a home’s visual appeal.
Uninterrupted Views
Glass railings mainly provide unobstructed views of the surrounding landscape, seamlessly connecting your indoor and outdoor spaces areas.
Durability and Safety
When a specialist is engaged, the glass balustrade complies with the highest safety standards. Using tempered or laminated glass makes the barriers highly durable and resilient impact-resistant. These railings are also weather-resistant, making them an excellent choice for homes.
Required Tools and Materials for Glass Railing
To install a glass railing on a balcony safely and neatly, use the appropriate tools and materials. Getting everything ready beforehand prevents delays and errors during installation.
Glass Panels
Use tempered or laminated safety glass, typically at least ½ inch thick. This kind of glass is durable, impact-resistant, and well-suited for outdoor environments.
Railing Hardware
Select stainless steel or aluminum supports, fasteners, and mounting hardware. These materials resist rust and corrosion, making them perfect for balconies exposed to the elements.
Fastener and Anchors
Base plates, screws, and anchors rated for outdoor use, particularly for cement surfaces, are necessary for secure installation.
Protective Components
Rubber gaskets or spacers prevent direct contact between glass and metal, helping minimize cracks and vibration.
Tools
A power drill, spirit level, laser distance finder, Phillips screwdriver, securing clips, and polyurethane caulking will be required for precise installation and waterproof sealing.
Step-by-Step Installation Process of Glass Railing
Measure and Plan
Accurate measurements are essential to ensure the railing fits perfectly. Measure the length of the balcony where the railing will be installed and determine the height, typically between 36 to 42 inches. Sketch a layout showing where the posts and glass panels will be placed, and check local building codes to ensure compliance with regulations regarding spacing and load-bearing standards.
Prepare the Surface
Clear the balcony base and edges where the railing will be installed, removing debris, old paint, and any other rust-related obstructions. To install anchors in concrete, start by drilling pilot holes with a masonry bit. Identify joints on wooden decks to ensure secure installation.
Install Posts
Place the initial post at the corner or terminus of the railing run. Use a level to ensure it is perfectly upright, then secure it to the balcony with anchors and screws. Repeat for all posts, spacing them roughly 4 to 6 feet apart, based on your glass width panel. Verify alignment with a laser measure or a chalk line.
Attach Glass Panels
Position rubber gaskets or spacers on the brackets that hold the glass posts. Carefully position each glass panel to fit snugly between the posts, leaving no gaps. Use clamps to temporarily hold the glass in place before securing it with brackets. Be careful not to overtighten screws, as this can cause the glass to crack.
Secure and Seal
After installing all panels, add top caps or handrails as desired. Apply silicone sealant along the lower edge of the glass where it contacts the balcony to prevent moisture intrusion. Remove excess sealant to achieve a neat finish.
Conclusion
Installing a glass railing on your balcony not only enhances its aesthetic appeal but also adds a modern, open feel to the space. By carefully planning, taking precise measurements, and selecting appropriate materials, you can create a sturdy and attractive railing that enhances your home or property.
Routine maintenance, such as cleaning and checking fasteners, helps prevent damage and maintains the railing’s sleek appearance. Thorough preparation and meticulous attention to detail not only ensure clear sightlines but also enhance your value and appeal. When approached correctly, a glass balcony railing can be a stylish, practical, and durable element that homeowners will appreciate for many years.