
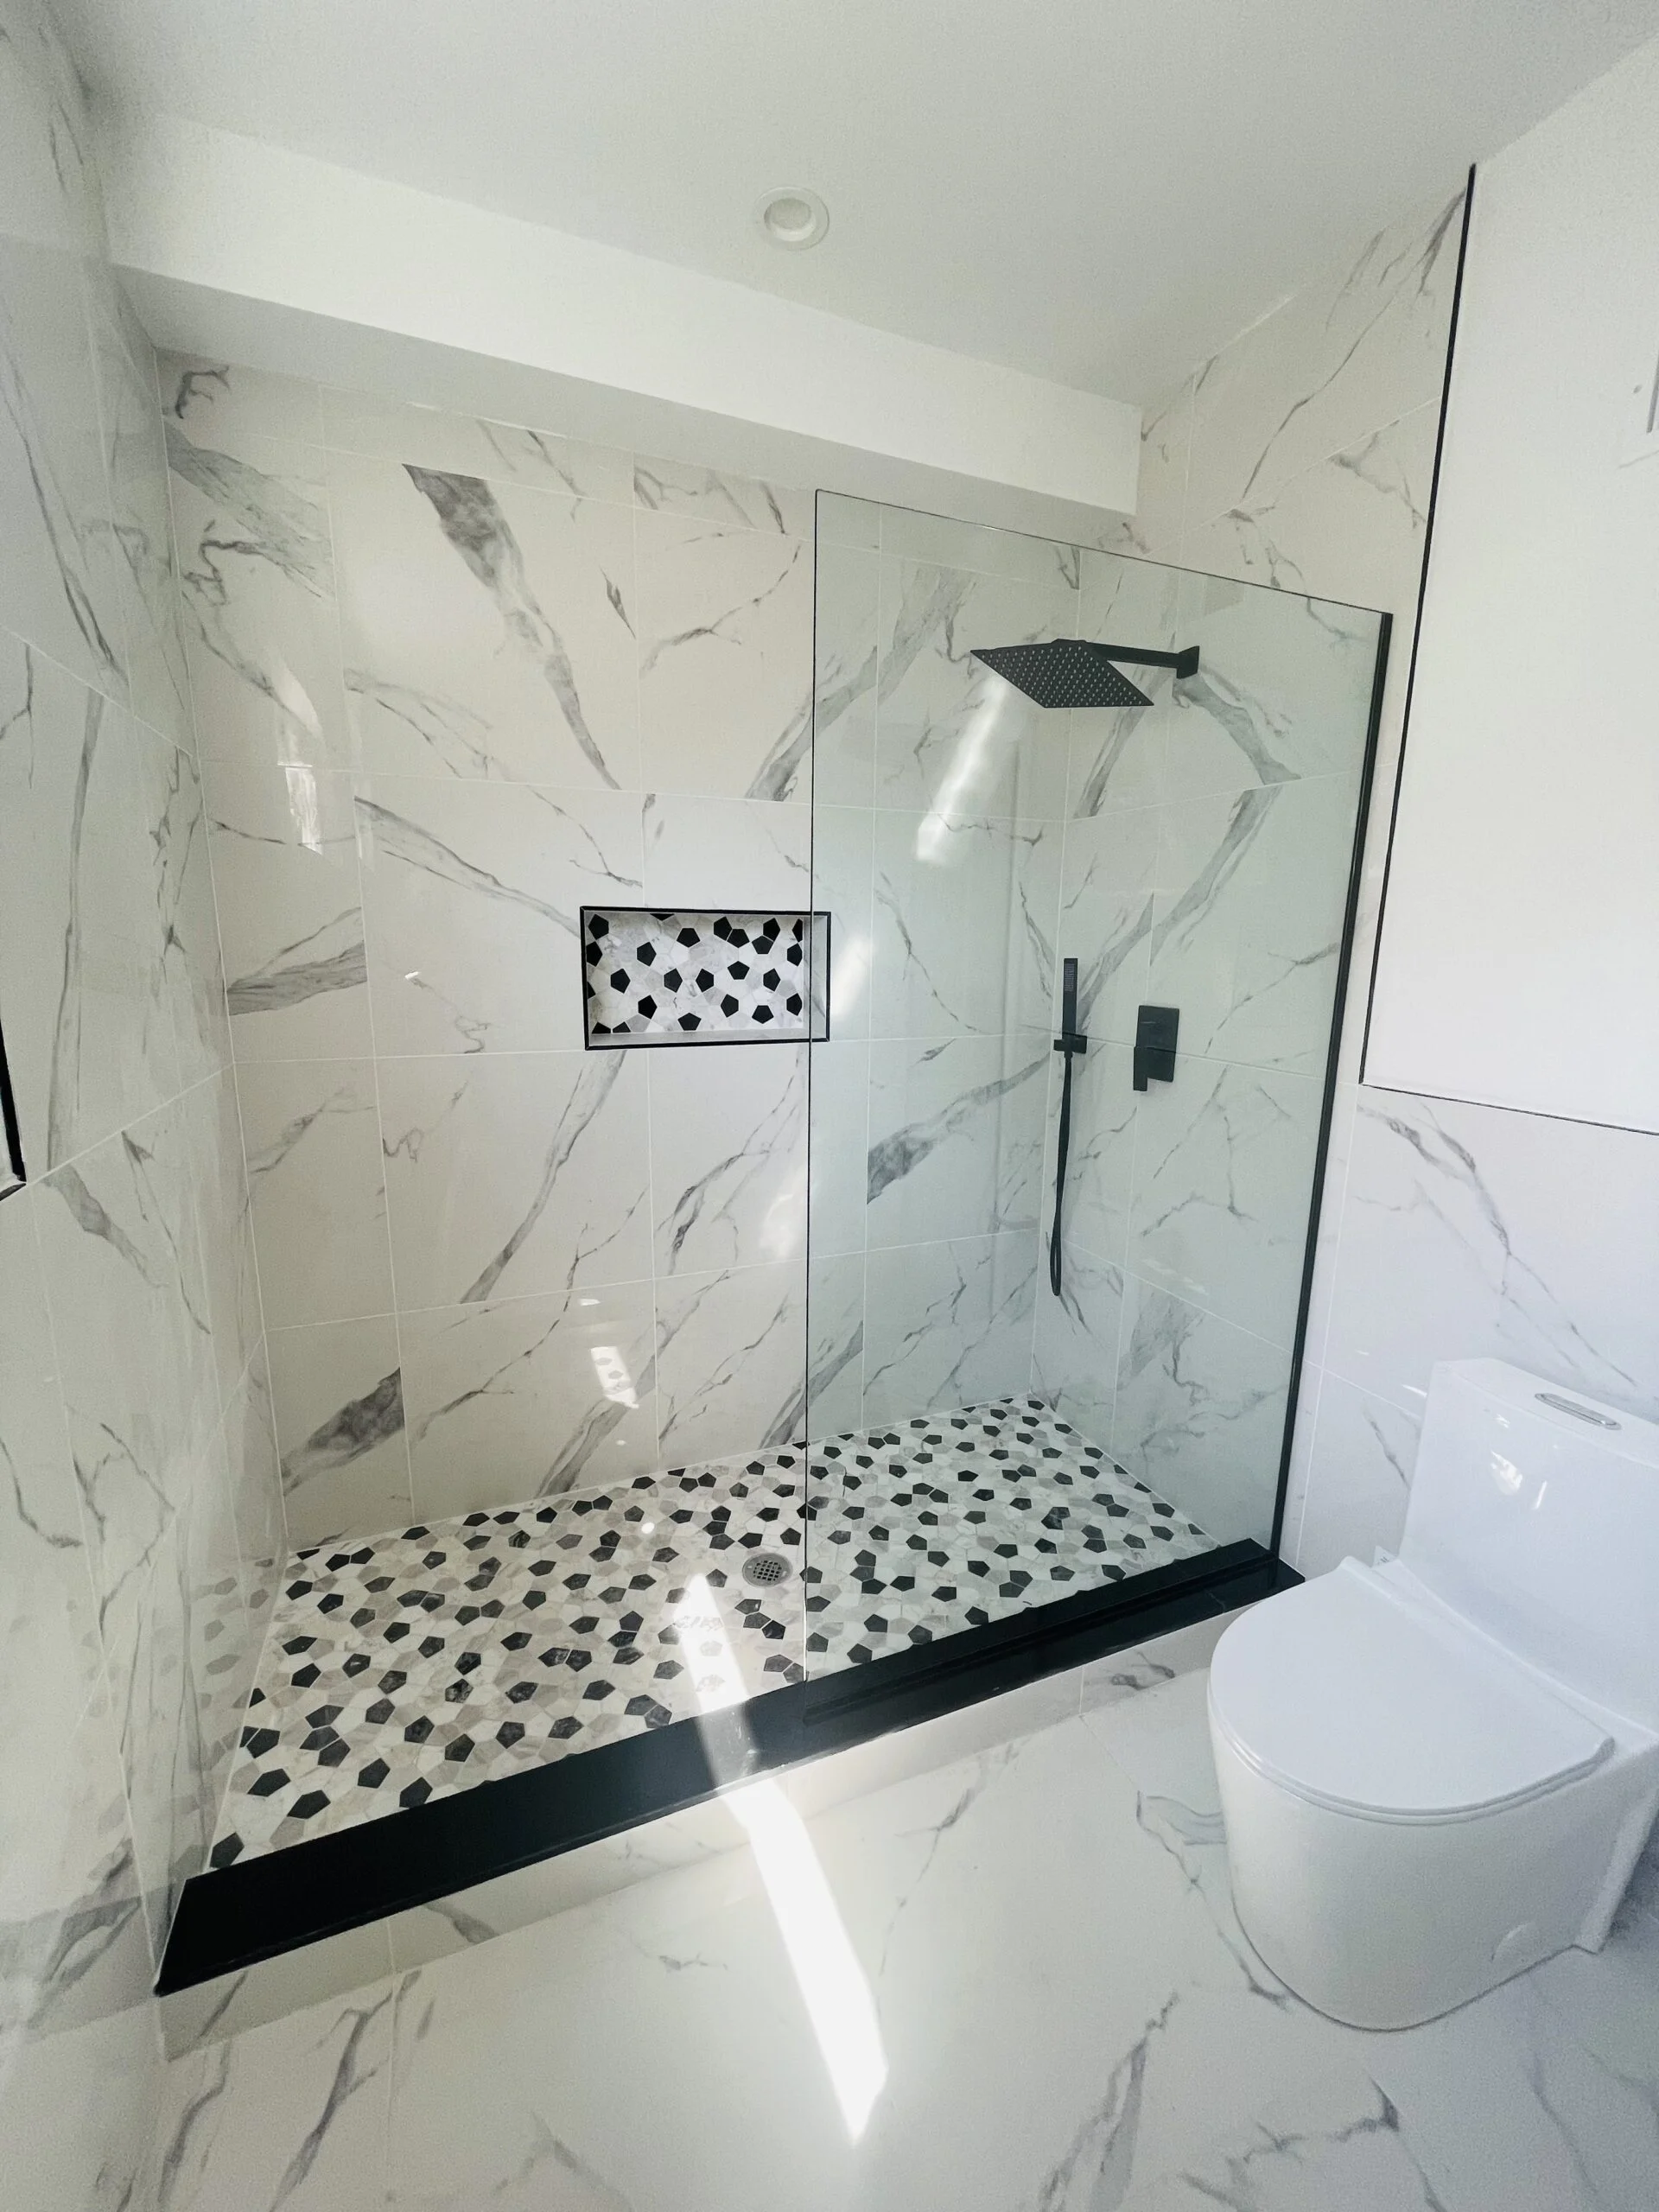
To install a frameless glass shower door on tile, you must accurately measure the opening, carefully drill into tile using a diamond masonry bit, secure heavy-duty hinges or brackets into studs or anchors, and apply clear silicone sealant along the exterior edges for waterproofing. Proper leveling and slow drilling are essential to prevent tile cracks and ensure a secure, leak-free installation.
Installing a frameless glass shower door on tile is one of the most effective ways to upgrade a bathroom with a modern, open, and luxurious look. However, mounting heavy tempered glass directly onto tile requires precision, proper tools, and careful execution. Unlike framed shower doors, frameless designs rely entirely on thick glass and sturdy hardware for support, meaning there is no metal frame to compensate for mistakes.
If you want a professional, secure, and leak-free result, this guide will walk you through everything you need to know about how to install a frameless glass shower door on tile safely and correctly.
Understanding Frameless Glass Shower Doors
A frameless glass shower door is made from thick tempered safety glass, usually 3/8 inch to 1/2 inch thick. Instead of metal framing around the edges, the door is supported by heavy-duty hinges, clamps, and brackets that are anchored directly into the tiled wall.
Because the glass is heavy and the hardware mounts directly into tile, the installation process must be accurate. Even small measurement errors can lead to alignment issues or leaks.
Why Installing on Tile Requires Extra Care
Tile surfaces are hard and brittle. Drilling incorrectly can crack tiles, damage waterproofing membranes, or weaken structural support. Additionally, tile thickness varies by material (ceramic, porcelain, marble, etc.), so proper anchors and drill bits are essential.
Installing a frameless glass shower door on tile requires:
- Precise measurement
- Proper drill technique
- Solid wall backing
- High-quality wall anchors
- Careful leveling
- Correct silicone sealing
Professional installers such as M&N Frameless Shower Doors LLC emphasize that accurate wall preparation is the foundation of a long-lasting installation.
Tools and Materials You’ll Need
Before starting, gather all required tools and materials:
- Measuring tape
- 4-foot level
- Pencil or marker
- Painter’s tape
- Power drill
- Diamond or carbide-tipped masonry drill bits
- Wall anchors
- Stainless steel screws
- Glass suction cups
- Shims
- Clear 100% silicone sealant
- Safety gloves
- Safety glasses
Never attempt installation without assistance. Frameless glass panels are heavy and fragile.
Step 1: Confirm Tile Installation Is Fully Cured
Before installing the shower door:
- Ensure tile adhesive and grout are completely cured
- Verify waterproofing membrane is intact
- Confirm the shower base is level
Installing too early can compromise both tile integrity and waterproofing.
Step 2: Measure the Shower Opening Accurately
Precise measurement is critical when installing on tile.
Measure:
- Width at top, middle, and bottom
- Height on both sides
- Wall plumbness using a level
Walls must be plumb within 1/8 inch for proper alignment. Frameless glass doors do not hide uneven surfaces.
Mark hinge and bracket locations using painter’s tape to protect the tile from scratches.
Step 3: Locate Wall Studs or Solid Backing
Although anchors can be used, it is ideal to mount hinges into wall studs or solid wood backing installed behind tile.
Use a stud finder or consult construction plans if available.
If studs are not available in mounting locations:
- Use high-quality heavy-duty anchors rated for glass doors
- Ensure anchors are appropriate for tile and moisture exposure
Step 4: Drill Into Tile Safely
Drilling into tile requires patience and proper technique.
Follow these steps:
- Apply painter’s tape over the drill mark to prevent slipping
- Use a diamond or carbide masonry bit
- Drill slowly at low speed
- Avoid hammer drill mode
- Apply gentle, steady pressure
Do not force the drill. Let the bit do the work. Sudden pressure can crack tile.
Once through tile, switch to a regular drill bit if needed for drywall or backing.
Step 5: Install Wall Hinges or Mounting Brackets
After drilling:
- Insert wall anchors if studs are not present
- Secure hinge plates or brackets with stainless steel screws
- Use a level to confirm vertical alignment
Tighten screws evenly but do not over tighten, as this may crack tile.
Step 6: Attach Hinges to the Glass Panel
Lay the glass panel flat on a padded surface.
- Attach hinges according to manufacturer instructions
- Ensure rubber gaskets are properly seated
- Tighten screws evenly
Use suction cups when lifting glass to maintain control.
Step 7: Mount the Glass Door
With at least two people:
- Carefully lift the glass panel
- Align hinges with mounted wall plates
- Secure hinge pins or fasteners
- Check alignment with the level
Insert shims at the bottom if necessary to maintain even spacing.
Ensure the door swings freely without rubbing the tile.
Step 8: Install Fixed Glass Panels (If Applicable)
For enclosures with stationary panels:
- Position panel inside wall channel or clamp
- Confirm plumb alignment
- Tighten clamps evenly
- Check gap consistency
Stability is essential before moving forward.
Step 9: Install Door Handle and Seals
Attach handles, knobs, or towel bars as directed.
Install:
- Bottom sweep
- Magnetic side seals
- Clear vinyl strips if required
Ensure the door closes securely and aligns with seals.
Step 10: Apply Silicone Sealant
Proper sealing prevents leaks.
Apply a thin bead of clear silicone:
- Along wall edges
- Along the bottom outside edge
- Around a fixed panel base
Do not seal the bottom edge of the inside to allow water drainage.
Allow silicone to cure for at least 24 hours before using the shower.
Common Mistakes to Avoid
When installing a frameless glass shower door on tile, avoid:
- Using incorrect drill bits
- Drilling too fast
- Skipping anchors
- Over tightening hardware
- Ignoring wall plumbness
- Applying silicone inside the bottom edge
These mistakes can cause tile damage, leaks, or glass misalignment.
Professional vs. DIY Installation
While experienced DIYers may handle the job, professional installation is often recommended because:
- Tempered glass is expensive to replace
- Tile repair can be costly
- Proper waterproofing is critical
- Precise leveling is required
If the walls are uneven or you lack experience drilling tile, hiring a professional may save time and money in the long term.
Benefits of Proper Installation on Tile
When installed correctly, a frameless glass shower door offers:
- A modern and elegant appearance
- Improved light flow
- Easy maintenance
- Increased home value
- Long-term durability
Proper mounting ensures structural integrity and leak resistance for years.
Maintenance after Installation
To extend the life of your shower door:
- Squeegee glass after each shower
- Clean with non-abrasive cleaners
- Inspect hardware annually
- Reapply silicone if needed over time
Routine care keeps glass clear and hardware secure.
Final Thoughts
Installing a frameless glass shower door on tile requires attention to detail, proper tools, and careful drilling techniques. Because the door relies entirely on thick tempered glass and heavy-duty hardware, precision is critical at every stage.
From accurate measurements to correct silicone sealing, each step plays a role in ensuring long-term performance and a leak-free shower enclosure. Whether you complete the installation yourself or hire a professional, understanding the process helps you achieve the best possible result.
Frequently Asked Questions
Can you drill directly into the shower tile to mount a frameless door?
Yes, but you must use a diamond or carbide-tipped masonry bit and drill slowly to prevent cracking the tile.
Do frameless shower doors need studs behind tile?
It is ideal to mount hinges into studs or solid backing, but heavy-duty anchors can be used if studs are not available.
What type of drill bit is best for porcelain tile?
A diamond-tipped drill bit is best for porcelain because it reduces the risk of cracking and provides smoother drilling.
How long should silicone cure before using the shower?
Silicone should cure for at least 24 hours before exposing the shower to water.
Is installing a frameless shower door on tile difficult?
It can be challenging due to the precision required and the risk of tile cracking, which is why many homeowners hire professionals.


