
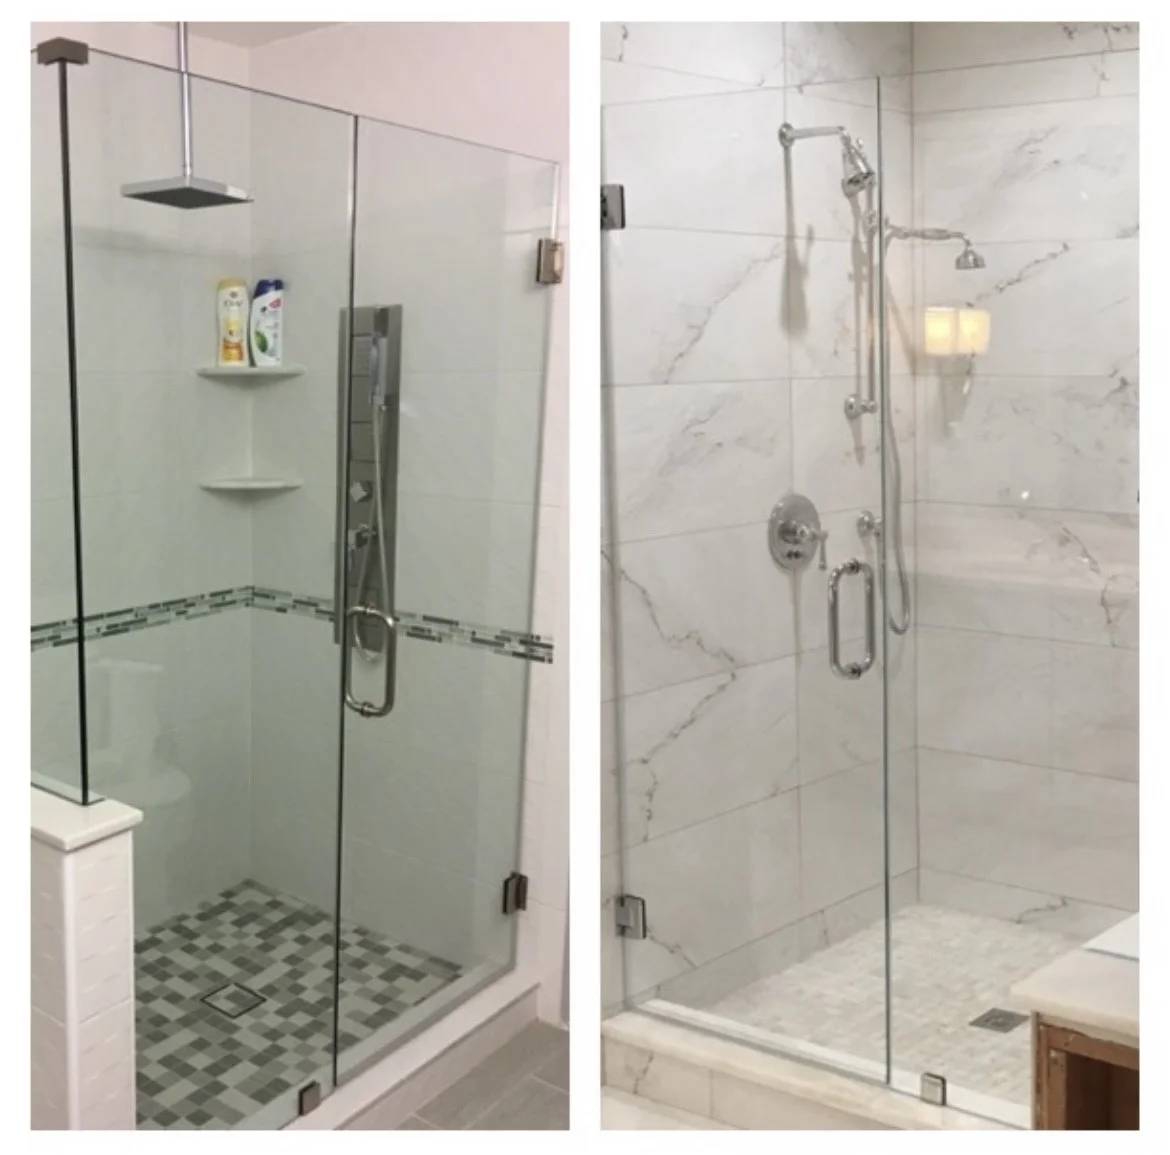
A frameless shower door is installed by accurately measuring the shower opening, mounting wall hinges or brackets, securing thick tempered glass panels, and applying silicone sealant for waterproofing. Proper leveling, careful drilling into tile, and correct hardware alignment are essential for a secure and leak-free installation.
Installing a frameless shower door can dramatically upgrade the appearance of your bathroom. It creates a sleek, modern look while making the space feel larger and more open. However, unlike framed shower doors, frameless models require precise measurements, careful handling, and proper installation techniques because they rely on thick tempered glass and minimal hardware for structural support.
If you are planning a bathroom renovation or upgrading your existing shower enclosure, understanding how to install a frameless shower door properly is essential. This comprehensive guide will walk you through every step, from preparation to final sealing, so that you can achieve a professional, secure installation.
What Is a Frameless Shower Door?
Before diving into the installation process, it’s important to understand what makes these doors different. A frameless shower door is made from thick tempered glass panels, typically 3/8 inch to 1/2 inch thick, without bulky metal framing around the edges. Instead of frames, the door relies on heavy-duty hinges, clamps, and minimal hardware for support.
Because there is no metal frame to compensate for uneven walls or misalignment, installation accuracy is critical.
Why Choose a Frameless Shower Door?
Homeowners choose frameless shower doors for several reasons:
- Clean, modern aesthetic
- Makes bathrooms appear larger
- Easier to clean due to fewer metal edges
- Increases home value
- Customizable for almost any shower layout
Many professional installers, including M&N Frameless Shower Doors LLC, emphasize precision and wall preparation as the most important part of the process.
Tools and Materials You’ll Need
Before starting the installation, gather the necessary tools and materials:
- Measuring tape
- Level (preferably 4-foot level)
- Drill with masonry bits
- Screwdriver
- Anchors and screws
- Silicone sealant (clear, 100% silicone)
- Glass suction cups
- Painter’s tape
- Safety gloves
- Safety glasses
- Shims
Never attempt installation without proper lifting tools. Frameless glass panels are heavy and fragile.
Step 1: Measure the Shower Opening Accurately
Precise measurement is the foundation of a successful installation.
Measure:
- Width at the top, middle, and bottom
- Height on both sides
- Wall plumbness (use a level)
If walls are out of plumb by more than 1/8 inch, adjustments or professional customization may be required. Frameless shower doors do not hide imperfections like framed doors do.
Double-check every measurement before ordering or installing the glass.
Step 2: Prepare the Shower Area
Ensure the tile work is finished before installation. Do not install the door before the tiles are set and fully cured.
Make sure:
- Walls are dry
- Surfaces are clean
- No loose tiles exist
- Shower base is level
Mark hinge and bracket positions using painter’s tape to avoid damaging tile during drilling.
Step 3: Install the Wall Hinges or Mounting Brackets
Most frameless shower doors are either hinged or sliding. For hinged doors:
- Hold the hinge against the wall in the marked position
- Use a level to confirm alignment
- Mark drill holes
- Drill carefully into tile using a masonry bit
- Insert wall anchors
- Secure hinges with screws
Always drill slowly to prevent cracking tiles.
Step 4: Attach Hinges to the Glass Door
Before lifting the glass panel:
- Lay it flat on a padded surface
- Attach hinges according to manufacturer instructions
- Tighten screws evenly
- Avoid over tightening
Use suction cups when handling glass to prevent dropping or chipping.
Step 5: Lift and Position the Glass Door
This step requires at least two people.
Carefully lift the door and:
- Align hinges with mounted wall brackets
- Insert hinge pins or secure hinge screws
- Ensure the door swings freely
- Check alignment with the level
Use shims at the bottom if necessary to maintain even spacing.
Step 6: Install Fixed Glass Panels (If Applicable)
For shower enclosures with stationary panels:
- Insert the glass into the wall channel or clamp
- Ensure panel is plumb
- Secure clamps tightly
- Verify even spacing from the door
Fixed panels must be stable before proceeding.
Step 7: Install Door Handle and Hardware
Attach handles, towel bars, and seals according to the manufacturer’s instructions.
Ensure:
- Handle screws are secure
- Magnetic seals align properly
- Door closes smoothly
Step 8: Apply Silicone Sealant
Apply a thin bead of clear silicone:
- Along wall edges
- Along bottom edge (outside only)
- Around a fixed panel base
Do not seal the bottom edge of the inside to allow drainage.
Allow silicone to cure for at least 24 hours before using the shower.
Step 9: Final Inspection and Testing
Open and close the door multiple times to check:
- Smooth operation
- Proper alignment
- No dragging
- Secure hardware
Pour small amounts of water to check for leaks.
Common Installation Mistakes to Avoid
Installing a frameless shower door incorrectly can cause long-term issues. Avoid these mistakes:
- Inaccurate measurements
- Drilling without a proper tile bit
- Over tightening hardware
- Skipping wall anchors
- Not checking the level multiple times
- Sealing inside the bottom edge
Professional vs. DIY Installation
While DIY installation is possible, it requires experience and precision. Frameless glass is heavy and expensive to replace if damaged.
Consider professional installation if:
- Walls are uneven
- Custom glass is required
- You lack proper tools
- You are unfamiliar with tile drilling
Benefits of Proper Installation
Correct installation ensures:
- Long-term durability
- Leak prevention
- Smooth door operation
- Enhanced bathroom aesthetics
- Increased home resale value
A properly installed frameless shower door can last decades with minimal maintenance.
Maintenance Tips after Installation
Once installed:
- Clean glass regularly with a non-abrasive cleaner
- Use a squeegee after each shower
- Check hardware annually
- Avoid harsh chemicals
Proper care prevents mineral build-up and preserves clarity.
Conclusion
Installing a frameless shower door requires accuracy, patience, and proper tools. From measuring and drilling to sealing and final adjustments, every step must be performed carefully to ensure durability and leak-free performance.
If done correctly, a frameless shower door transforms your bathroom into a modern, elegant space while increasing both functionality and value. Whether you choose DIY installation or hire professionals, understanding the process helps you achieve the best possible results.
Frequently Asked Questions
How difficult is it to install a frameless shower door?
Installing a frameless shower door can be challenging because it requires precise measurements and careful drilling into tile. Many homeowners hire professionals for accuracy and safety.
Do frameless shower doors need special wall support?
Yes, frameless shower doors require solid wall backing or anchors because they rely on heavy hinges instead of metal framing for structural support.
How long does it take to install a frameless shower door?
Professional installation usually takes 2 to 4 hours, depending on the shower layout’s complexity and whether fixed panels are included.
Can I install a frameless shower door on uneven walls?
Slight wall unevenness can be adjusted with shims, but significant out-of-plumb walls may require custom glass fabrication.
How long should silicone dry before using the shower?
Silicone sealant should cure for at least 24 hours before the shower is used to ensure a waterproof seal.


